
How do I send a social connect invite to a client?
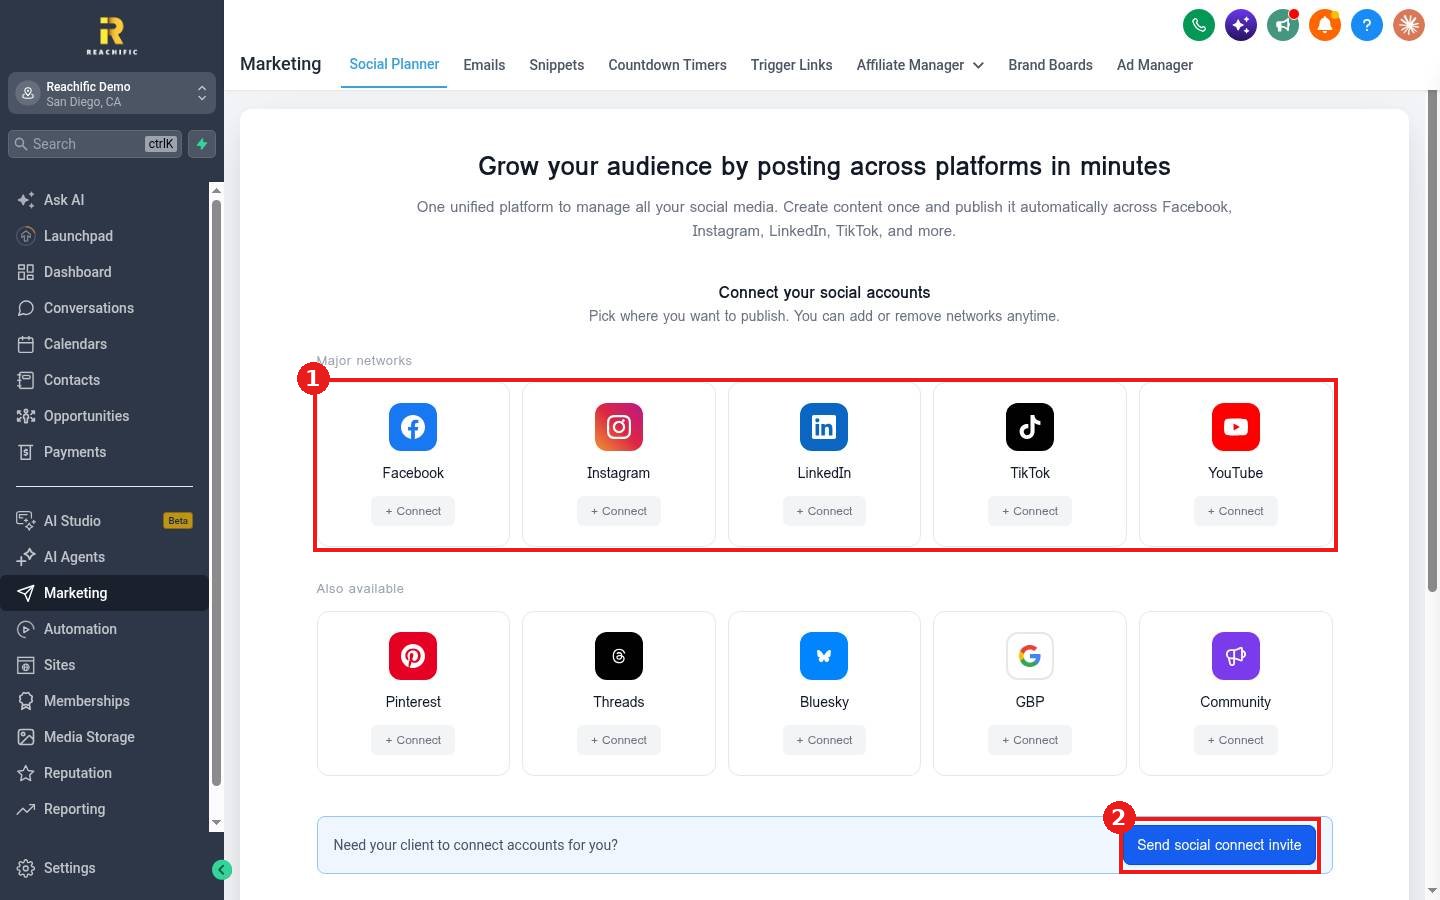
Quick answer: Go to Marketing > Social Planner and click Send social connect invite. Pick Auto-generate or Custom password, choose whether they can keep managing accounts, click Generate link, then share the link and password with your client.
Before you start
- Use this when the client owns the social accounts and you do not have their logins.
Step 1: Open the invite
In Social Planner, click Send social connect invite (2) under the network cards.
Step 2: Generate the link
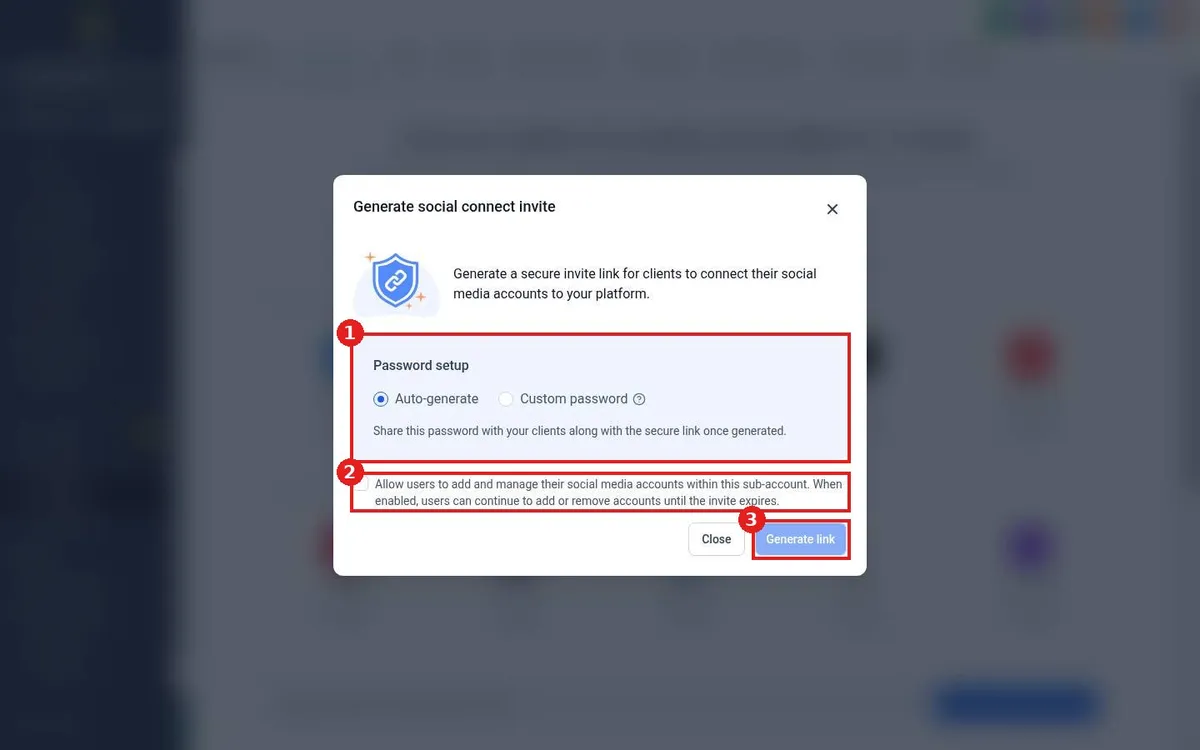
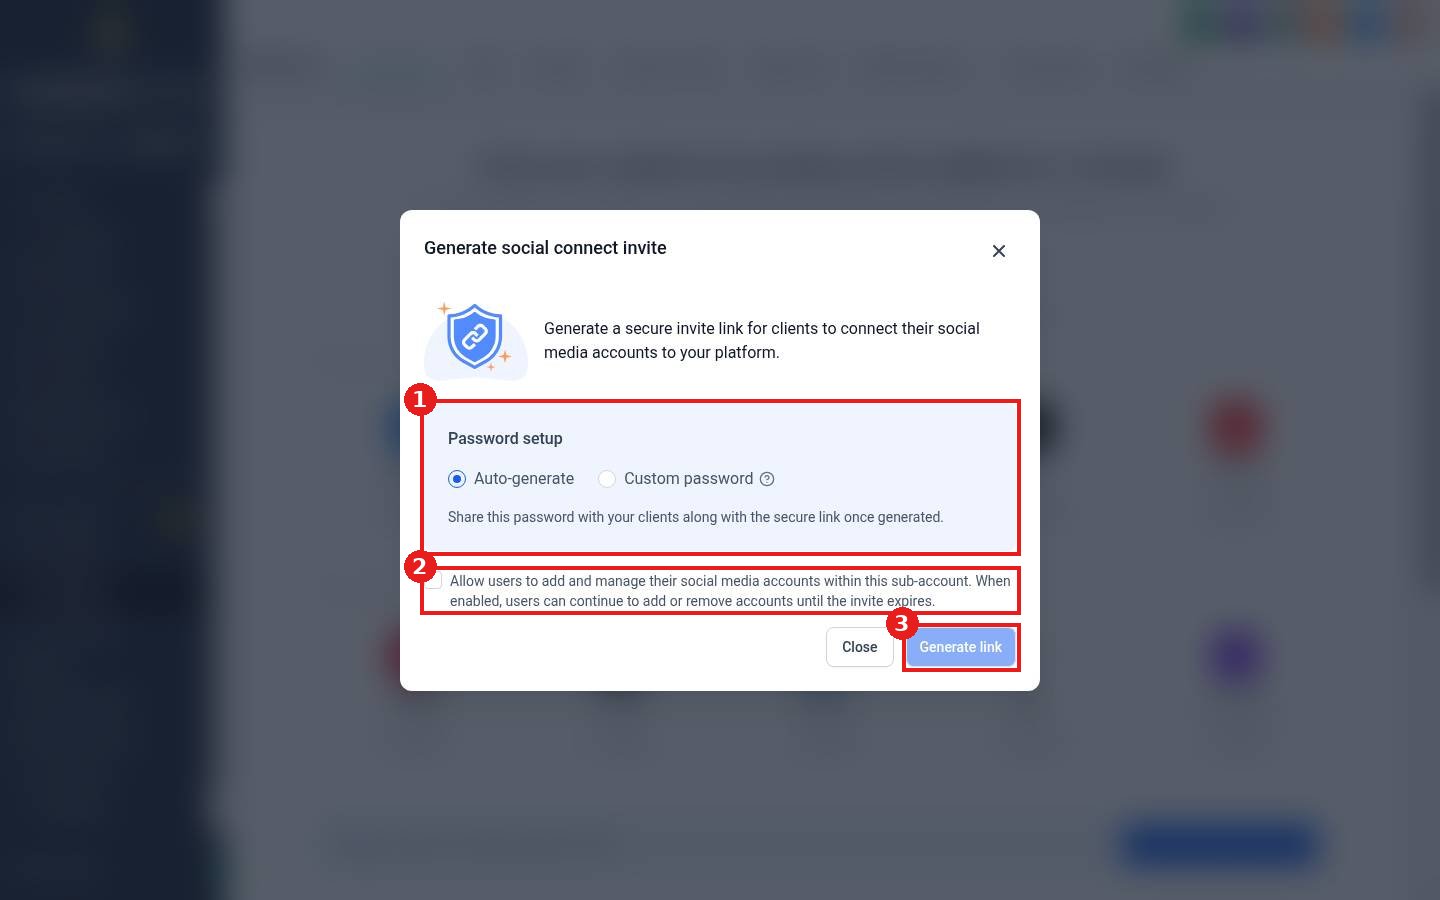
- Under Password setup (1), choose Auto-generate or Custom password.
- Tick the box (2) if the client should be able to add and remove accounts until the invite expires.
- Click Generate link (3).
Step 3: Share it
Send the secure link and the password to your client in separate messages. When they open it and connect, their accounts show as connected in your Social Planner.
FAQ
Does the client need a Reachific login?
No. They only need the link and password.
What if the invite expires?
Generate a new link and send it again.
Want us to handle it? Our team can onboard your clients and manage their social posting for you. Book a free strategy call and get a free quote.
Related articles
- How do I connect my social media accounts?
- How do I schedule a social media post?
- How do I add a team member?
Still stuck? Submit a ticket and our team will help. Need faster answers? See our support plans.
