
How do I reschedule or cancel an appointment?
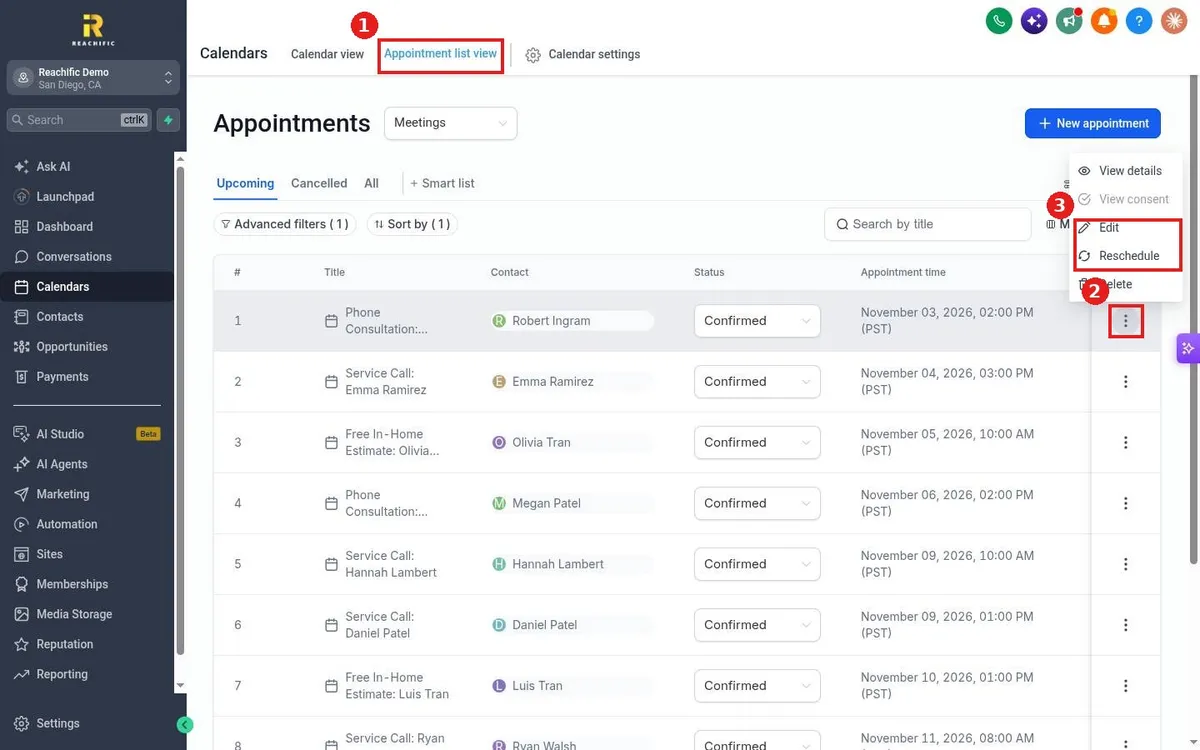
Quick answer: Open Calendars, then Appointment list view. To move it, click the three dots on the appointment and choose Reschedule. To cancel it, open the Status dropdown on that row and pick Cancelled.
Before you start
- If you turned on reschedule or cancellation messages for the calendar, the customer gets them automatically.
- Cancelling keeps a record. Delete only removes it, so use Cancelled for normal cancellations.
Step 1: Reschedule
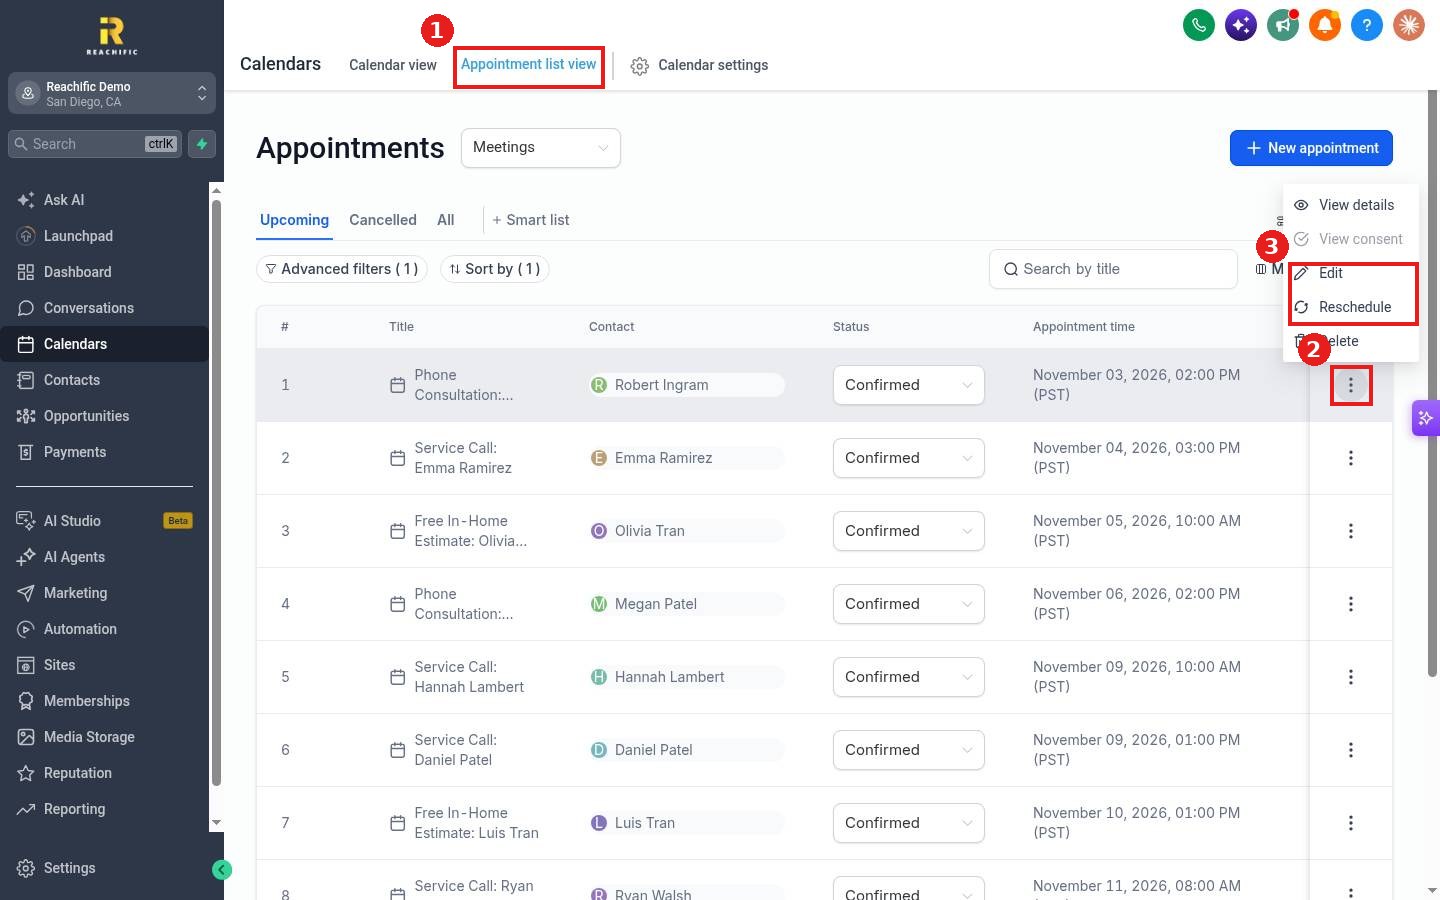
Click Appointment list view (1). Find the appointment and click the three dots at the end of the row (2). Choose Reschedule (3), pick a new date and slot and save. Use Edit in the same menu to change the title, location or notes.
Step 2: Cancel or mark the outcome
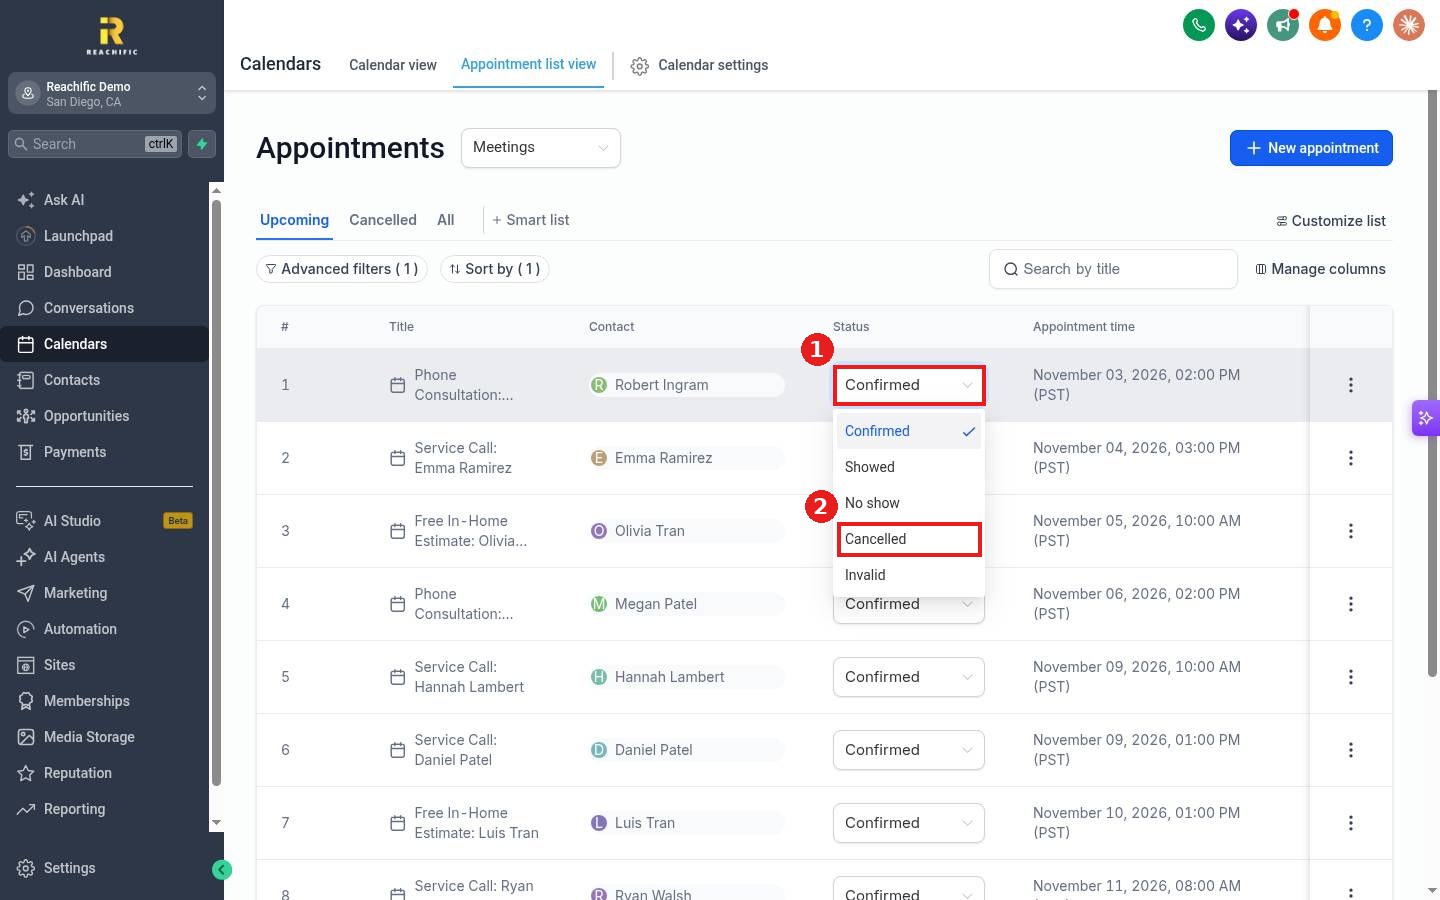
Click the Status dropdown on the row (1) and choose Cancelled (2). The same list lets you mark Showed or No show after the visit, which keeps your reports accurate.
FAQ
Can I reschedule from the calendar grid?
Yes. Click the appointment on the calendar to open it, or drag it to a new time.
Where do cancelled appointments go?
They move to the Cancelled tab in the appointment list.
Can customers reschedule themselves?
Yes. Confirmation emails can include reschedule and cancel links, set under the calendar's Notifications and policies.
Want us to handle it? Our team can set up no show and cancellation follow ups that win back lost jobs. Book a free strategy call and get a free quote.
Related articles
- How do I book an appointment for a customer?
- How do I see all upcoming appointments in a list?
- How do I send appointment confirmation and reminder messages?
Still stuck? Submit a ticket and our team will help. Need faster answers? See our support plans.
